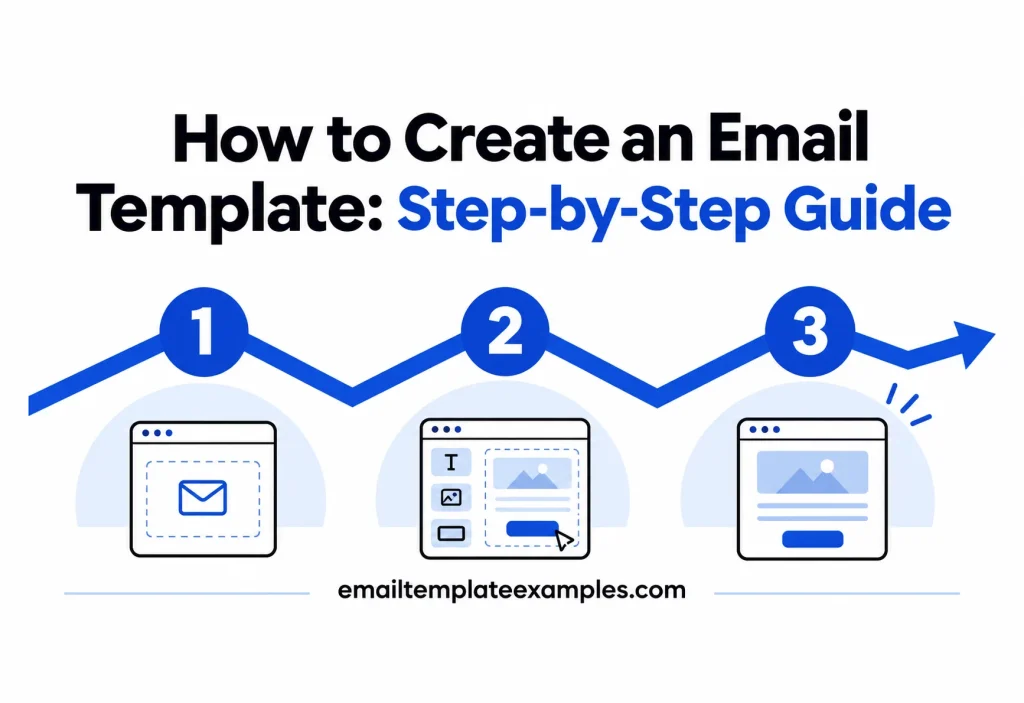
A template is an email you only design once. After that, each new send starts from the same frame and you change the content. Knowing how to create an email template well saves time on every campaign and keeps your emails looking like they come from the same company. This guide follows one template from the first decision to the saved file, and shows where the steps differ if you build in an email service provider, in Outlook, in our free editor or in code.
If you would rather skip the build and adapt a finished design, start in the template library. For a comparison of the tools themselves, see our planned guide to email template builders.
How to create an email template: choose your tool first
The steps are the same everywhere, but the tool changes the details. Pick one before you start.
| Build method | Good when | What you end up with |
|---|---|---|
| ESP template builder (Mailchimp, HubSpot) | You send campaigns from that tool | A saved template inside your account |
| Outlook | You send one-to-one emails with repeated text | A reusable message in your mailbox |
| A library template plus our editor | You want a coded layout without writing code | HTML you can copy or export to any tool |
| Hand-written HTML | You need full control or custom code | A file you maintain yourself |
Step 1: Define the job of the template
Write down which email this template is for and the one thing a reader should do next. A newsletter template, an order receipt and a sale announcement need different blocks, and a template that tries to cover all three ends up awkward for each. Litmus’s design best practices guide lists one goal per email among its core tips, and that applies even more to a layout you will reuse dozens of times.
Answer three questions before you open any tool:
- Who receives it (new subscribers, customers, a team)?
- What changes from one send to the next (headline, products, dates)?
- What stays fixed (logo, footer, colors, sign-off)?
Step 2: Plan the blocks
Sketch the email top to bottom as a stack of blocks. Most templates use some mix of the same few pieces. Our editor, for example, offers Header, Text, Image, Button, Divider, Spacer, Columns and Footer blocks, and a typical promotional layout might run:
- Header with logo
- Hero image
- Headline and short text
- Button
- Two or three columns of products or links
- Divider
- Footer with address and unsubscribe
Litmus describes this approach as a modular design system: a set of reusable content blocks you can rearrange per campaign. Keep the layout to a single main column for phones and only add columns where side by side content truly helps.
Step 3: Set your brand styles
Decide the styles once, at the template level, so every email inherits them:
- Logo file and its display width
- Background, text, link and button colors
- A heading font and a body font, each with a safe fallback
- Button shape, size and padding
- Footer text: company name, postal address, the reason people receive the email
Mailchimp’s guide to the template builder suggests adding your logo and choosing brand colors and fonts as part of building a template, so the design is ready to reuse.
Step 4: Build the template in your tool
In Mailchimp
According to Mailchimp’s template builder guide, you can start a template from an email you sent recently, from a pre-designed template, from a blank layout, or by importing your own HTML. You then drag and drop content blocks, edit images, fonts and colors, preview for desktop and mobile, and give the template a name before saving it. When you later create an email from that saved template, you only add the new content.
In HubSpot
HubSpot’s knowledge base article on marketing emails explains that you pick a template by use case, such as an event, a newsletter or an engagement email, then edit it and fill in settings including the subject line, preview text, from name and address, and reply-to address. Build the reusable parts first and save them before you write campaign copy.
In Outlook
Outlook templates suit personal messages more than campaigns. Microsoft’s support article on Outlook email templates describes them as a way to save messages whose content rarely changes. In the current Outlook app and in the browser, the Mail Templates feature saves the whole email, including recipients, subject, body, formatting and attachments, while the My Templates add-in holds plain text snippets. Classic Outlook saves templates to a templates folder on your computer by default.
From a library template in our editor
Pick a starting design on the templates page, open it and choose Edit this template. Editing needs a free account. A blank email is another starting point in the editor if you want your own layout. In the editor you edit the wording, swap images, recolor sections and restyle buttons, then copy the finished HTML or download it as .html or .zip. The free plan includes 5 saved templates, 1 custom template and 5 exports a month, per the pricing page.
In HTML
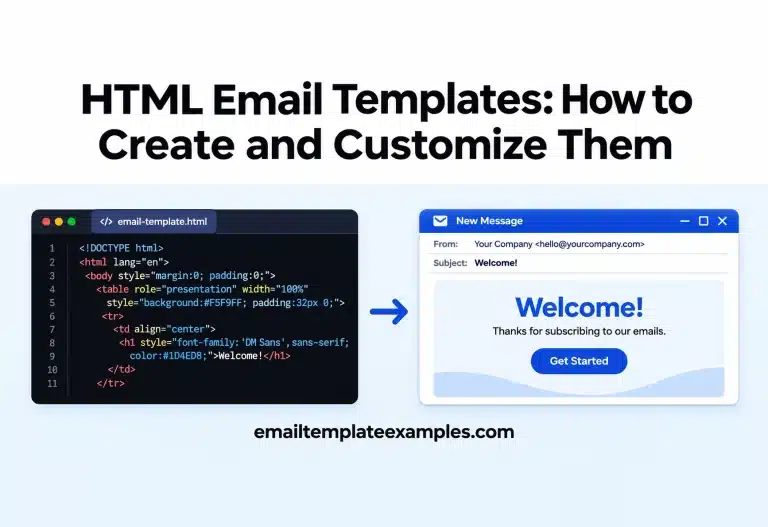
If you write the code yourself, build the structure with tables and put the CSS inline, since many email clients ignore or strip styles in other places. Our guide to HTML email templates covers the code side, and the planned walkthrough on editing an HTML template without coding shows the lighter route.
Step 5: Write placeholder copy and preview text
Fill the template with realistic sample copy, not lorem ipsum. Real headlines show you whether the hero fits a long title, and a real product name tells you if the column is wide enough. Mark the parts that change per send clearly, for example with square brackets, so nobody sends “[Headline]” by mistake.
Add a slot for preview text as well, the short line that appears beside the subject in the inbox. Mailchimp warns that without it, email clients pull in whatever text opens the message, frequently a link to view the email online.
Step 6: Add images and alt text
Use images that work at 600 px wide on desktop and still read on a phone. In our editor you can upload JPG, PNG, GIF and WebP files or use an image link; the free plan allows up to 2 MB per image and 20 MB of storage in total.
Give every meaningful image alt text that says what it shows, and keep any important words in live text rather than inside the picture. Litmus recommends short but descriptive alt text so people who have images off, or who use screen readers, still get the message.
Step 7: Test before you save the final version
A template that breaks will break every email built from it, so test it harder than a single campaign:
- Preview at desktop and phone widths
- Check dark mode and Gmail, where colors and spacing can shift
- Turn images off and read what is left
- Click every link and button
- Mail a test copy to yourself and read it on your phone
Each template page on our site shows desktop and phone previews, light and dark views, a Gmail view and the file size against Gmail’s 102 KB clipping point. If you add CSS features of your own, look them up on Can I Email, which tracks HTML and CSS support across email clients.
Step 8: Save, name and share the template
Give the template a name that says what it is for and when it was last changed, such as “Newsletter, two column, v3”. Then put it where your team sends from.
If your template lives outside your ESP, check the import rules first. Mailchimp’s custom HTML import page limits custom HTML templates to accounts on Standard or a higher plan. You can paste code, upload an HTML file, or upload a ZIP file that is under 1MB, with one HTML file and the images in the root folder.
Keeping a family of templates consistent over time is its own topic, covered in our planned guide to reusable email templates.
Mistakes to avoid when you make an email template
A few problems turn up again and again in templates, and each one repeats in every email built from them:
- Text inside images. Headlines and offers baked into a picture vanish when images are blocked.
- Too many fixed sections. If every send must fill six blocks, people pad them with filler. Make optional blocks easy to delete.
- No room for long words. Test the hero and buttons with your longest product name or a translated headline.
- Styles set block by block. Changing a color later means hunting through every section. Set it once at the template level.
- Skipping the footer. A template without the address and unsubscribe link forces each sender to remember them.
Email template checklist
Before calling a template finished, confirm each item:
- One purpose and one main button
- Logo, colors and fonts set once at the template level
- Fallback fonts named
- Live text for headlines and offers
- Alt text on every meaningful image
- Placeholders clearly marked
- Preview text slot filled
- Unsubscribe link and postal address in the footer
- Tested on desktop, phone, dark mode and Gmail
- Saved with a clear name in the tool you send from
FAQ
Is building an email template a long job?
It depends on the tool and how much the layout differs from a starting design. Adapting an existing template is usually much quicker than building from a blank page, because the structure is already done.
Can I create an email template for free?
Yes. Our editor is free with an account, the template library is free to browse and copy, and many ESPs include a template builder on their free tiers. Limits differ, so read the vendor’s plan page.
What is the best size for an email template?
Aim for a main column near 600 px. Keep the HTML well under 102 KB, since Gmail clips longer messages.
Can I use the same template in different email tools?
Yes, if you save it as HTML. Paste or import it into each tool’s custom HTML editor, then send a test from each one, since their editors may change code on import.
Should a template include the subject line?
Some tools save a default subject and preview text with the template. Use them as a draft and rewrite both for each send, since they are what readers see before they open.
Build once, reuse often
Creating an email template comes down to a clear purpose, a short stack of blocks, brand styles set once, and testing that is stricter than for a one-off email. Do that once and every future send gets faster. To skip the blank page, start from a template in the library and adapt it in the editor.